Tuesday, August 13, 2024

Chenard et Walcker 32 Sport: Complete (#5 for 2024)

ust over a week's work; I haven't had much else on my plate but it was a pretty simple build with no engine detail. 


In those days, men were Men. Consider: twenty-four hours in an open car with no windshield wipers and marginal headlights (although note the searchlight mounted close at hand), mostly in the pouring rain, presumably while wearing heavy wool clothing (no Goretex in 1923) and an aviator's leather helmet, at an average speed of 91 km/h with top speed 145 km/h on those skinny little tires and with cable-operated drum brakes. At least it had brakes on all 4 wheels...
 
So this is the oldest car I have modelled, followed by the 1926 Renault 40 CV land speed record car and the 1929 Miller 91 Indianapolis racer. Perhaps next I should tackle the 1930 Blower Bentley which DNFed at Le Mans that year. Stay tuned! 

Saturday, August 10, 2024

Chenard et Walcker 32 Sport: Introduction

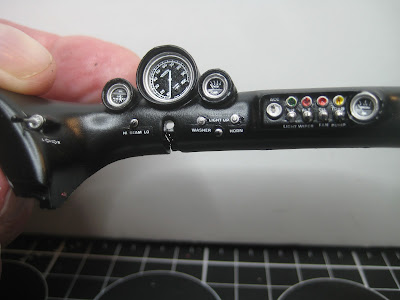
Normally I prefer models with engine detail, perhaps due to my background as a mechanic. But occasionally something comes along that fills a gap in the collection, and I'll buy it in spite of it being a so-called curbside model. 

This 1923 Chenard et Walcker is known as the winner of the first Le Mans 24 hour race. Driven by André Lagache and René Léonard, the #9 car, with a 3-litre OHC motor, crossed the finish line first at an average of just over 90 km/h, in spite of awful weather; the 2-litre #10 car, driven by Christian Dauvergne and Raoul Bachmann, was 4 laps back. (They were not credited with the win at the time, as there was a complicated formula involving the percentage of the "expected" distance covered, but they did cover the most distance and were still running at the end, so that is enough for me.)  A Bentley and a couple of Bugattis were the only brands that a modern reader might recognise among the other finishers. 

The kit is a new one from Le Mans Miniatures. The first issue for me was the fact it is all 3D-printed, and separating the sometimes very fine parts from the supporting structure was a challenge; a couple of the more delicate pieces were broken or lost in the effort.


Two enormous "sprues" contained most of the smaller bits. For the moment I have decided to press on regardless of broken bits, fabricating or repairing as needed; but if necessary I'll write to the company -- they have already sent me a package with a couple of spare bits that other people had complained about. Here's what it all looked like with the residues removed. 


A lot of waste there! But of course I am sure there is more styrene waste involved in making a traditional model than makes it into the box. Total number of bits is pretty small; you can see one of the broken rings that will be part of the wheels.


Paint was initially going to be TS-10, French Blue, but this is quite a bit lighter than the colour used in the modern recreation of the car, click here. (As you can imagine, there are no period colour photos.) So eventually I went for TS-93, Pure Blue, still a bit on the light side. It also turned out that simply washing the body in Dawn dish soap was insufficient to get the paint to stick, so it all had to go into a 99% isopropanol bath for stripping and de-greasing. 


Stay tuned; this should be a relatively quick build compared to the 1/12 scale MFH kits, even with the fiddling about with broken bits.

Sunday, August 4, 2024

Abarth 1000 SP: Complete (#4 for 2024)

Lots of adventures to report. This 1/12 scale kit, weighing 1456 grams as delivered, leads to a nice build of a particularly quirky little race car weighing in at a hefty 853 grams.


Door hinges are nice and strong compared to some past flimsy MFH designs involving 0.8 mm rod and some folded photo-etched bits. But they still need to be bent to fit and I am not sure that I've gotten it entirely right.  


The dashboard includes decals for all the switches -- did Le Mans drivers really need a turn signal? Perhaps the Goup 6 regs required this -- as well as an ignition key and fob. Putting in the dashboard (along with the windshield) required some filing and shoehorning, and hides the connection for the steering column which needs to be made by feel. A certain amount of horsing around is needed as it should slide in under the door hinge structures, but these clearly need to be put on earlier.  


The front inner fenders have dowels on them socketing into holes in the underside of the nose cone, but there is no way you can see what you are doing when trying to line up the nose cone. More horsing around ensued, culminating with the amputation of said dowels. Lots of CA glue and some flimsy aluminum rivets keep it lined up, but it all seems to hold together. 


The hinge for the rear engine cover, modified as described in an earlier post, works well as long as a bit of slop is left in them to allow it all to move around as it closes up.  


Overall the paint won't win any prizes, but I am happy with the results. Little hub caps and tire valves remain to be added once the last paint touchups dry. 


Little details like the engine cover latches and 0.5 mm (0.020") aluminum rivets holding various sheet metal bits on are neat and were relatively easy given my long experience with MFH kits, but a beginner might find the whole thing frustrating.