Saturday, July 23, 2022

Alfa Romeo P2: Complete (#10 for 2022)

 Another one done! And the flaws are obvious to me, but all told it's pretty good. 


The biggest issue is the grille, which depends on the flimsiest piece of photo-etch I have ever seen. It is not glued in; I can remove it and replace with another piece of mesh should something suitable come up. 


Lining up of all the panels is a bit off as well, traceable to the sloppy fit between the engine block and the two frame rails. A better jig would have been a good idea.


Lovely comparison with the Ferrari 156, also with a Jano-designed motor. It's worth pointing out that both are painted with Tamiya TS-8, Italian Red; but the Alfa benefited from Tamiya's dark red primer versus the white primer for the Ferrari. In both cases metal pieces also benefitted from Tamiya's metal etch primer, which is clear.


Six week's intense focus here, with no other parallel builds to complicate things; there are a number of projects to come. I have a couple of Italeri 1/12 kits (Fiat 806, Alfa 8C 2300 Monza), and a Tamiya 1/12 kit of the Honda RA 300, but I think I'm going back to projects of more reasonable size.

So stay tuned! 

Saturday, July 16, 2022

Alfa Romeo P2: Chassis and body (Part I)

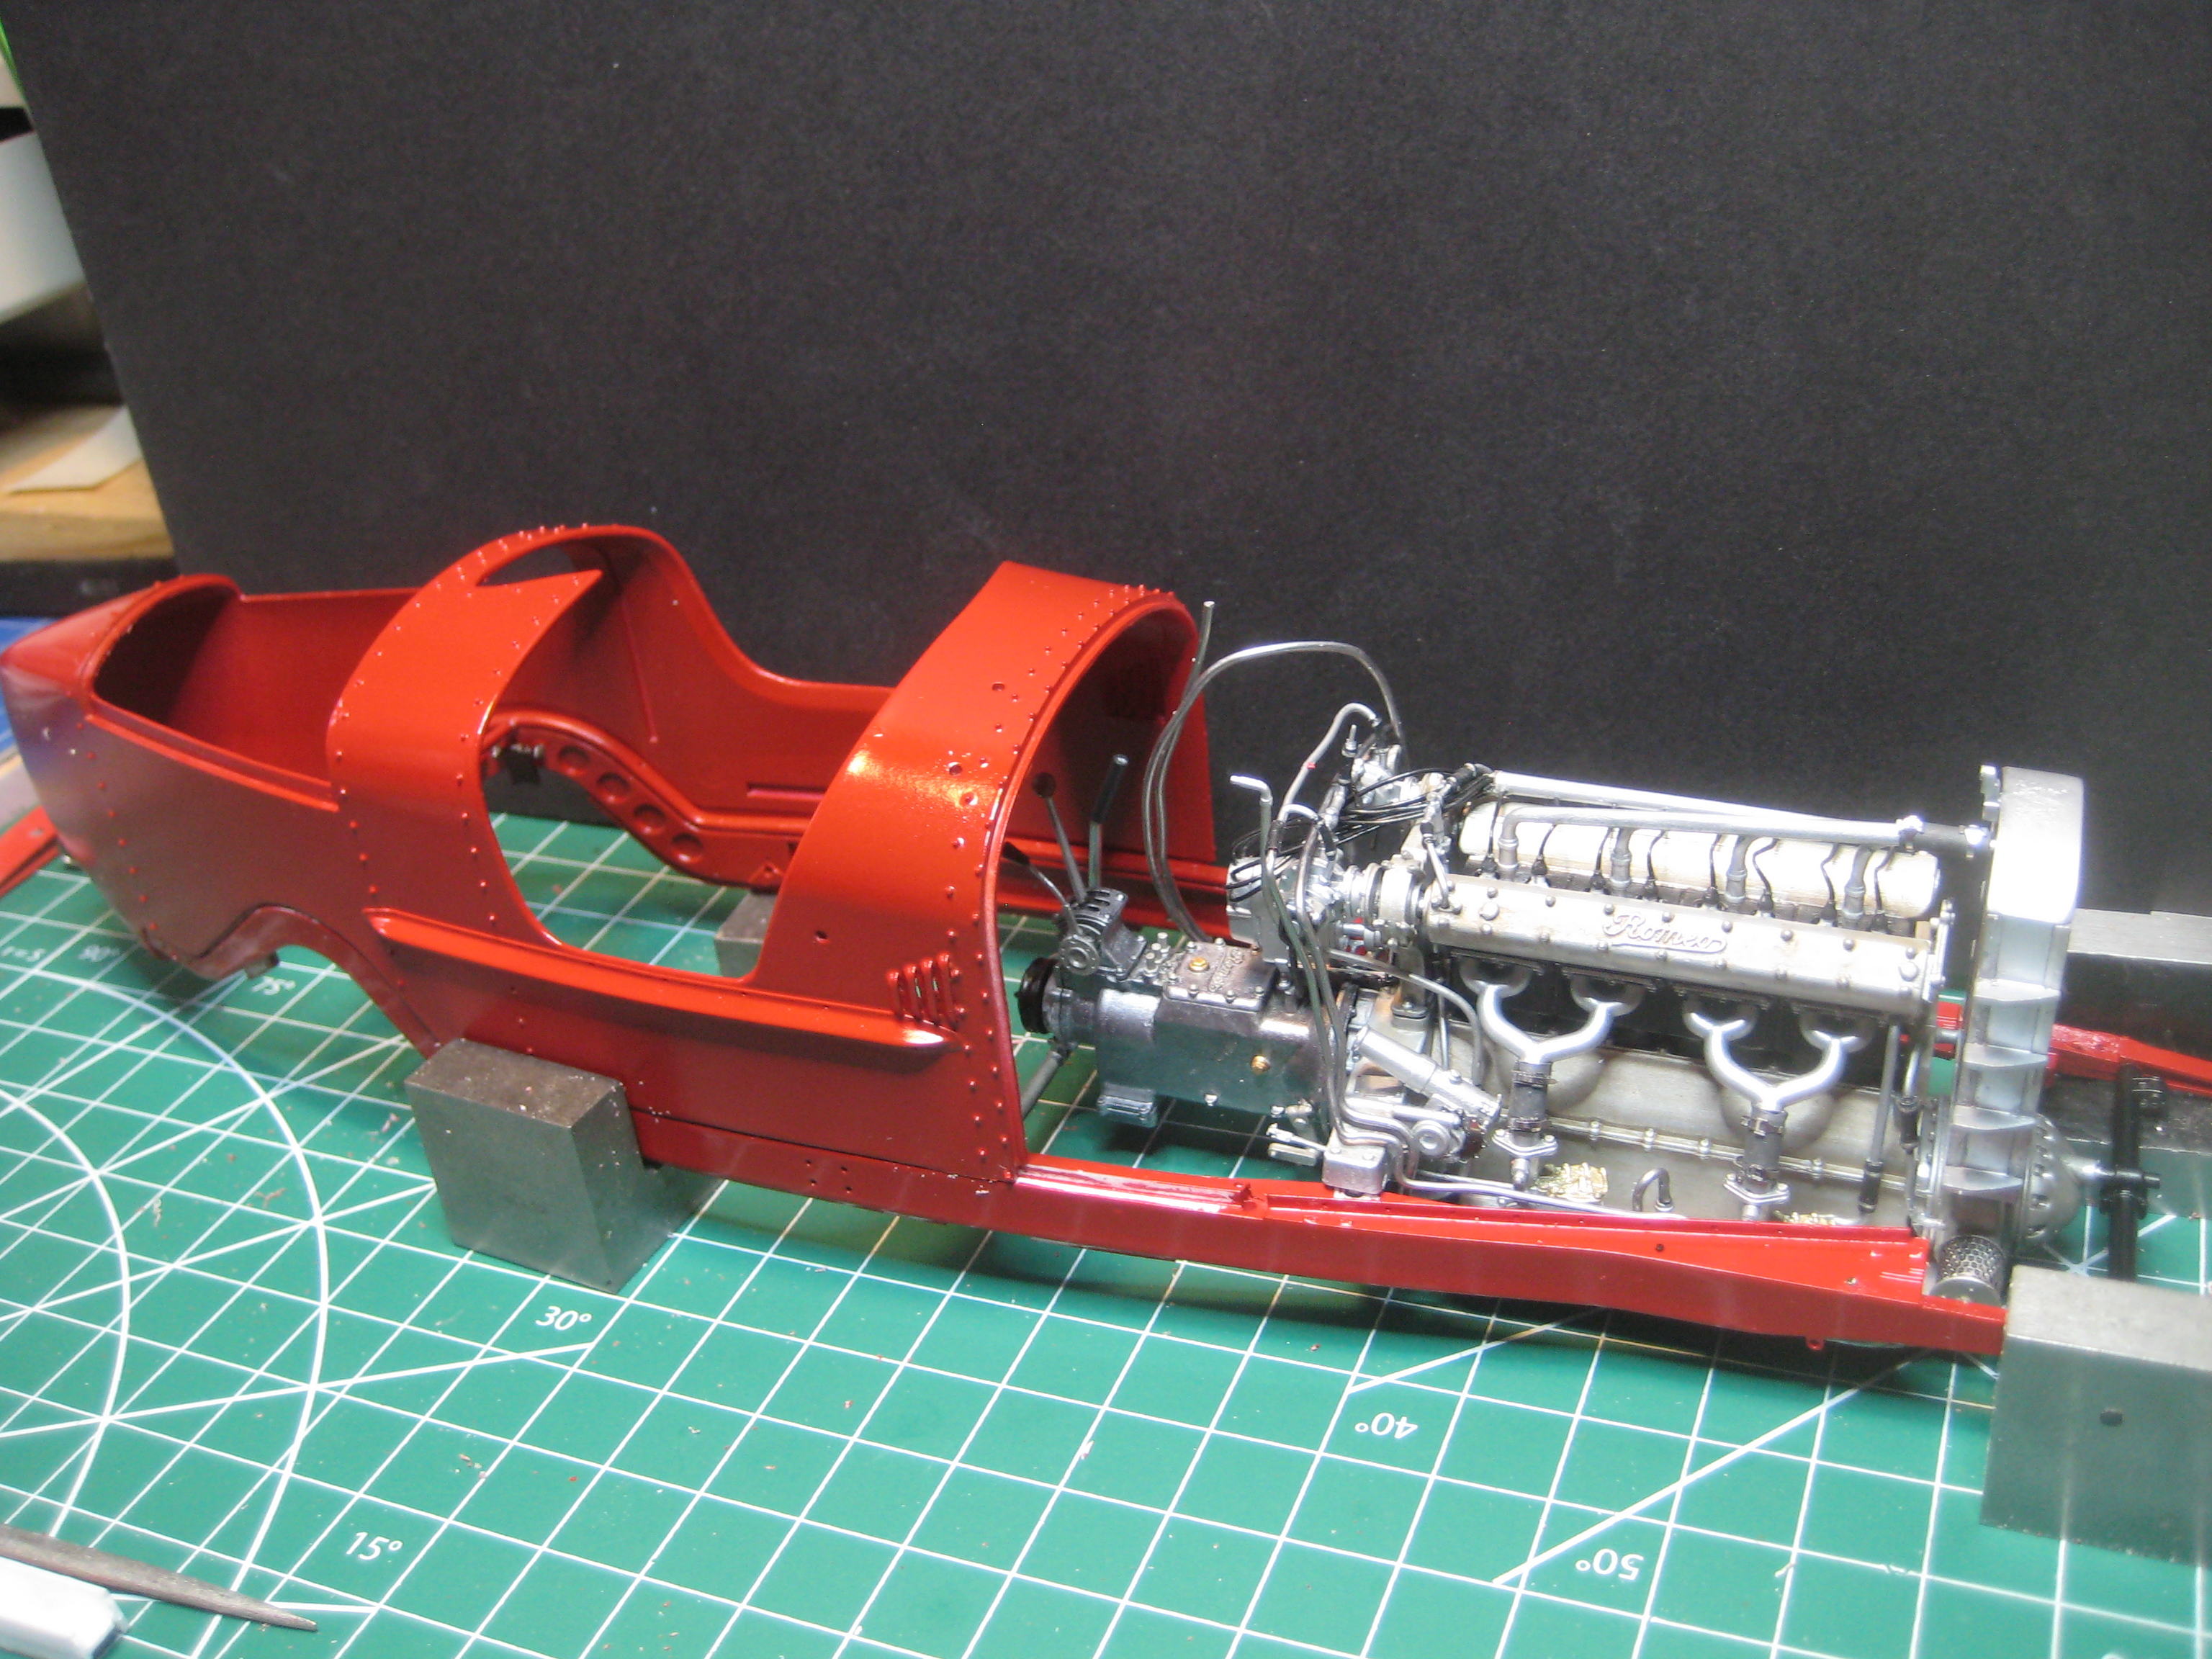
The gluing of the chassis rails to the engine was not without challenges but hopefully it is all straight enough at this point. 


Got the front and rear axles installed along with the engine and gearbox. Some repairs to the paint became necessary along the way. The main issue, with a kit this big, is ensuring equal paint across all the various bits; as it is some are darker due to more red primer and/or less TS-8. 


Friction shocks were a nuisance and won't be visible once it's all together. 

I verified that the hood would open on its pins made of 0.50 mm wire. A challenge but it worked out.

The dashboard uses a peel-off sticker to mimic the engine-turned original. with poor results in my view. I dulled it all with some grey panel line paint from Tamiya. The two largest gauges, however, involve a decal and an actual pointer mounted on a rivet, very neat if time consuming.


The body is now glued into place after a fair bit of work with the Dremel to get it to sit on the frame properly. (This explains any dust you can see in the photos). As it is there are some gaps that will need to be filled with panel line paint. Also the fuel filler cap had to be moved as the hole in the tank didn't line up with the body; it is likely that the tank (which gave me a bit of a fight) is mounted too far forward.


It's not over yet! Lots of bits still to be attached, and then there are the 48-spoke wheels, of which the best I can say is they aren't 72-spoke wheels as with the 156. Stay tuned!

Tuesday, July 5, 2022

Alfa Romeo P2: Chassis test fit and lining up

The chassis rails are nice and flexible, as in the real world no doubt; and the major crossmember, at least as far as the kit is concerned, is the engine. So getting it all straight at the start is going to be critical. 


Assembly order and clamping jigs are going to be a big part of getting it all straight.And once it's time to glue, I think it will be 5 minute epoxy for strength and in order to have a couple of minutes to move things around a bit before it all sets.

Stay tuned!

Monday, July 4, 2022

Alfa Romeo P2: Engine

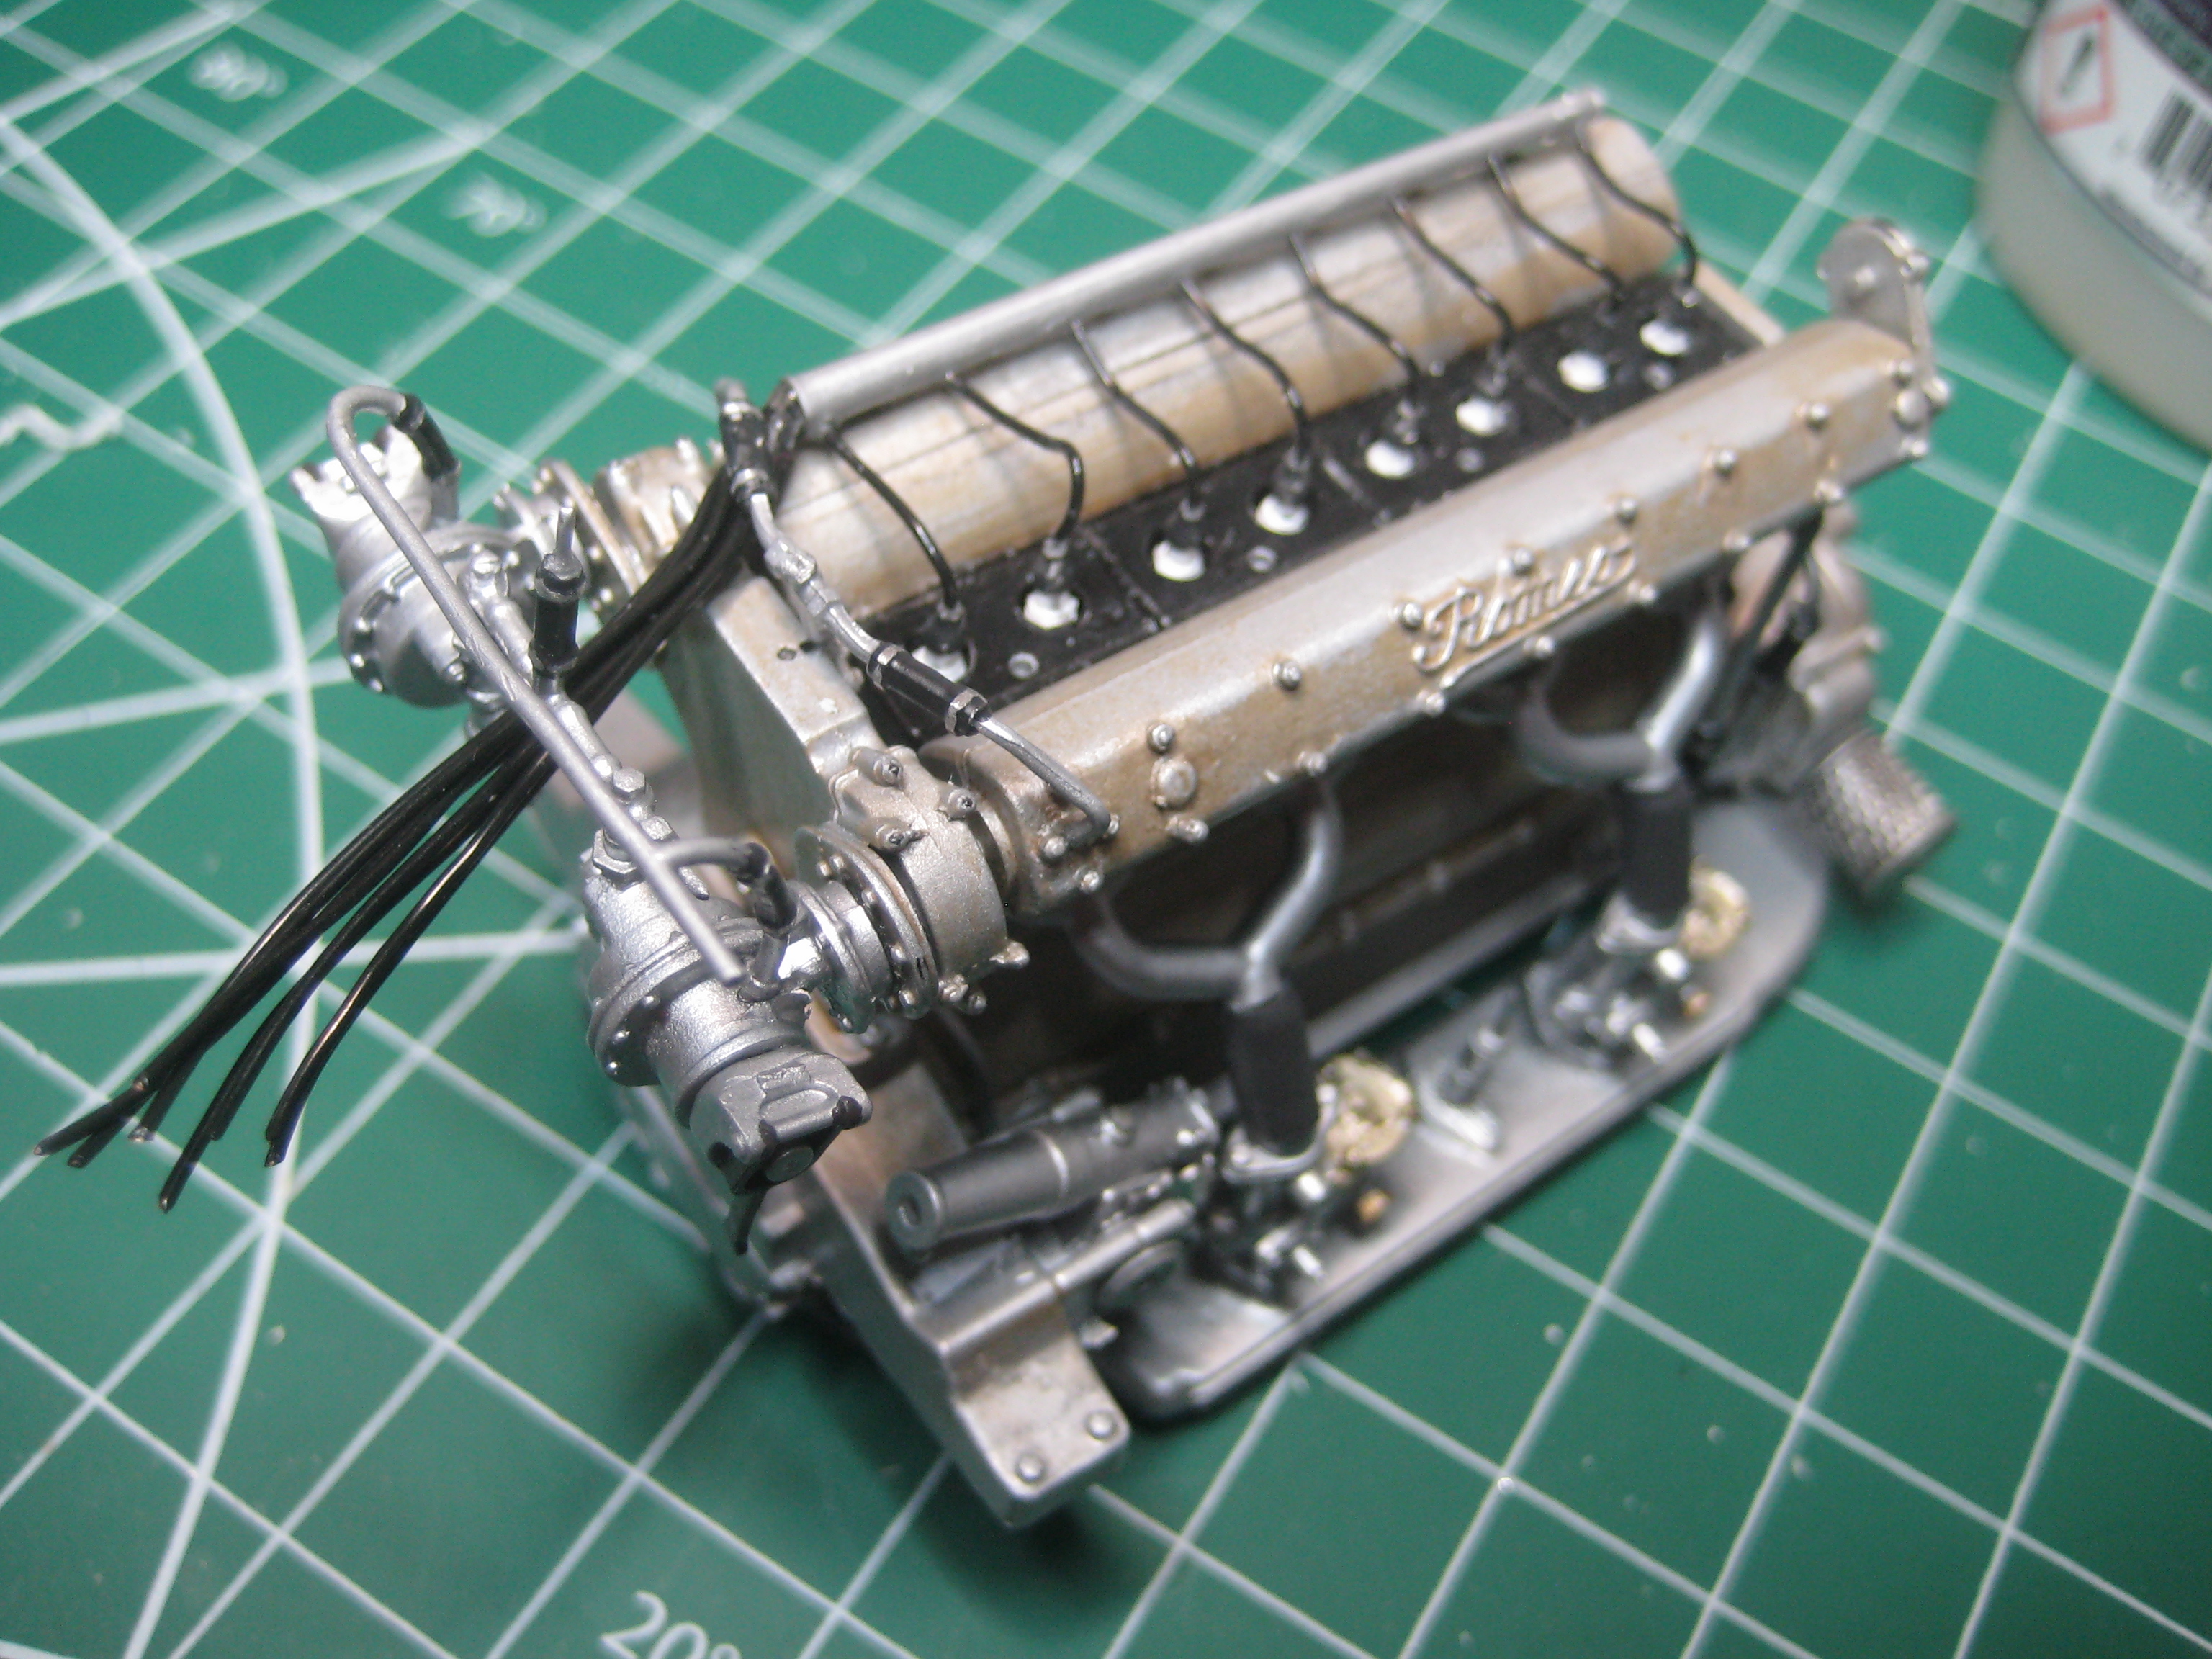
A lovely kit of a lovely engine.The inlet side includes a pair of updraft, pressurised carburetors supplied by a pair of Roots blowers in a common housing at the front of the crankcase.

The finned manifold from the blower to the carb inlets is flat at the level of the oil pan.

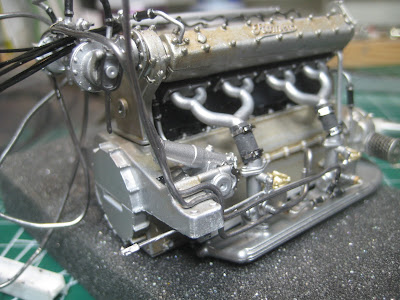
Plenty of piping, some of it involving solder wire. The completed engine from the intake side.

This shot shows the blower housing with its two air filters mounted below the radiator.

Spark plugs and ignition by magneto is all very detailed. 


Not as much to see on the exhaust side at this point, except for the water pump and drive system. 

Finally the transmission includes a range of controls for brakes and gears. On to the chassis.

Stay tuned!

Thursday, June 16, 2022

Alfa Romeo P2: Initial review

I know I swore no more 1/12 kits, especially from Model Factory Hiro, but I couldn't resist the reissued P2, and the box turned up yesterday. 


Alfa's racing department was run by Enzo Ferrari in 1924. Enzo hired Vittorio Jano away from Fiat and got him to design a new 2-litre supercharged straight 8 for the new P2; the car was immediately successful in 1924 and went on to win the inaugural Automobile World Champioship in 1925. The kit reproduces the 1924 version as driven to a win in the Italian GP by Alberto Ascari, or the French GP by Giuseppe Campari.

One advantage compared to kits of the 917 or 908/03 is the lack of teensie weensie structural tubing. Getting it all to line up should be easier, although the resin frame rails are bent and will need some gentle heat.


The wheels will require spokes installed, but I am (ahem) something of an expert at this by now. Haha, just joking, Mr Murphy.


Initial triage of the various bits seems positive and I have got all the major bits for the engine identified. 


And so starts another saga. Stay tuned!

Monday, June 13, 2022

Auburn hot rod: Complete (#9 for 2022)

I'm quite happy with the overall shape if not the quality of the finish. 


Stay tuned! It may be summer but there are other projects in the offing.

Friday, June 10, 2022

Auburn hot rod: Chassis and body modifications

I made the decision to move the body back on the scratch-built frame so that the grille can come down behind the front axle.

 
The result looks good but required trimming both the grille and the lower edge of the rear of the boat tail so they wouldn't drag. Ground clearance is 3 mm, just under 3" at 1:1. 

Rear suspension is a transverse leaf and two trailing arms from the parts bin. I had to build up a structure under the deck to support it all, but this means the chassis doesn't need to extend rearwards of the rear axle and ruin the clean shape


Next I made spats for the four wheels, using a pair of clear plastic spoons from Costco for each spat. That Art Deco look is coming along nicely.


Colours will be Gunmetal (TS-38) over German Grey (TS-4) for the spats, Racing White (TS-7) for the body. I might paint the character line down the side of the body Gunmetal as well, to be decided. 


The engine, from Replicas and Miniatures of Maryland, went together well. Messed up the firing order, though... It will be a squeeze in the engine bay, and as expected the intake horns will require holes in the hood. The sides of the hood may get left off as I don't need the 4 exhaust holes for the Auburn motor; the Buick (?) motor has 5 exhaust port, with the middle three being siamesed (two exhaust valves per port) and the two at the ends being straight through.


Final assembly looms large. Stay tuned!