Meanwhile I have scratch built catwalks, exhaust system, a support for one of the two gas tanks in the kit, and a big roof-mounted scoop to feed the turbo. Sadly the scoop faces a bunch of hot air exhaust vents on the roof of the engine compartment rather than cool fresh air, but so be it.


I just need to route the wastegate outlet to the main exhaust pipe. The triple lake pipe came from Italeri's truck accessory kit. The main exhaust is painted Testor's Flat Rust which is a pretty poor imitation, frankly. I may need to redo this.

It's getting crowded back there, and it would be nice to have a duct leading down into the turbo inlet which otherwise is sucking from around the gas tank.

Just missing the breather on the forward valve cover, and the connection from the wastegate to the exhaust.

I saw somewhere on the Interweb that fuel consumption for this beast is 140 litres per 100 km, which is just about 14 times what my trusty Volvo, Thor, gets me. So having only one tank, and at a smaller scale at that, may be limiting, but I want to make sure there is nothing back of the 2nd steering axle to interfere with payload, so this may be it.

Here is the current state of the extended engine cover, fabricated using bits from the 1:35 winch housing and random bits left over from the 1:35 light tank which I cannibalised for my SSP (Super Snow Plough).

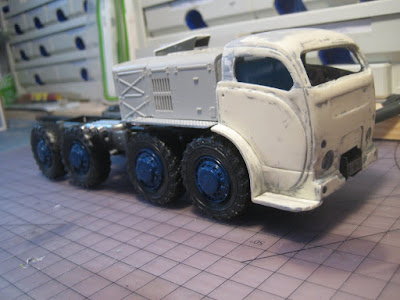
So the chassis is looking good, at least. I'll add a few other bits like a battery box from the Freightliner kit. Hopefully there will be a painted cab at some point.

Two steps forward, one back, which is better than two back, one forward. Just getting some additional putty on the roof before beginning final assembly. Stay tuned!
No comments:
Post a Comment