So a concentrated effort got the cockpit of the BRM complete. First step was to wash the spun-cast white metal bits in acetone to get rid of any mold release agents. Some long goobers floated to the surface, so this was clearly a good idea.

The kit is up to the usual Model Factory Hiro standards, with lots of detail. Two pieces of wire (0.5 mm and 0.4 mm diameters), two photo-etched sheets, and assorted springs and machined parts are complemented by loads of spun-cast white metal bits and an excellent full-colour instruction sheet. (There are no resin bits).

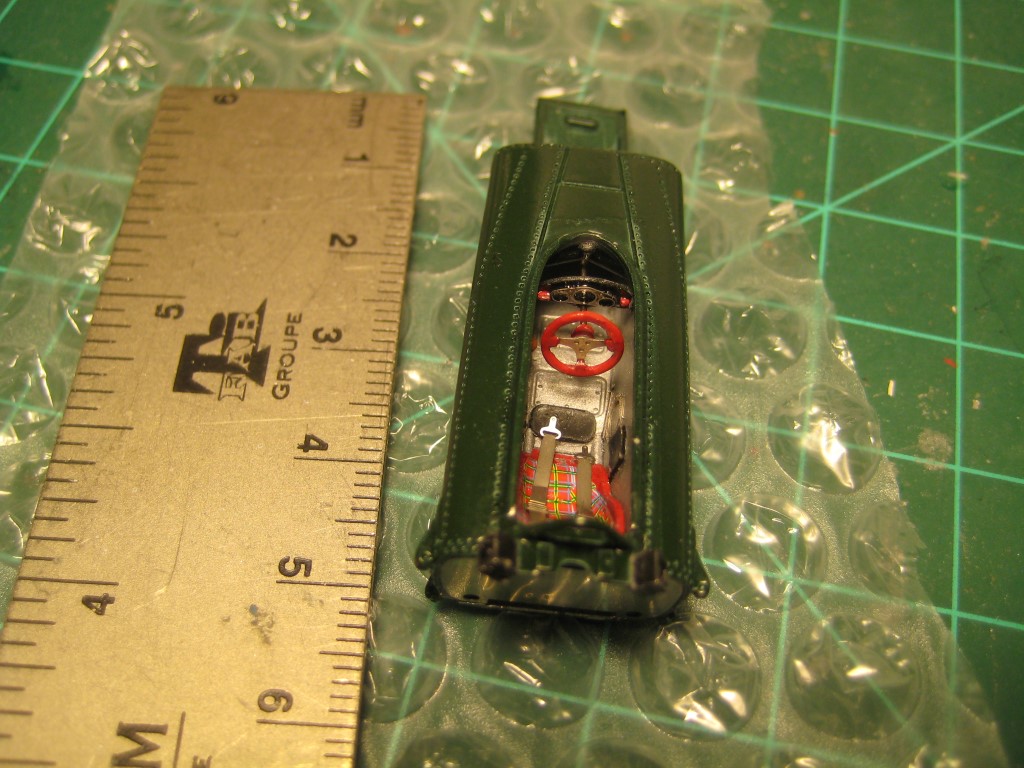
The driver's seat was first up, complete with tartan decal (a Jackie Stewart signature). The gearshift linkage involved 14 mm of 0.4 mm rod, the steering column 16 mm of 0.5 mm rod, and all of it needed the 4X desk magnifying glass to see what I was doing. Fit is generally very good, although, as with most spun cast bits, dowels and sockets need to be cleaned up. A decent set of number drills corresponding to 0.4 mm, 0.5 mm and 1.0 mm (#78, #76 and #60) is a bare minimum.

A good set of tweezers is also critical; the original piece of 0.4 mm rod pinged out of my tweezers and got eaten by Mr Carpet. Hopefully there is excess 0.4 mm rod in the kit; failing that I will have to locate 0.015" rod.

Seat belts are photo-etched; I didn't manage to get the lap belts in, but the shoulder belts drape over the seat back nicely. I also skipped the three minuscule decals for the gauges, and replaced them with drops of black paint. Hey, this stuff is really, really small.
While on the topic of paint, it is pretty clear that a thick coat of Testor's enamel is going to hide lots of detail even if you can only see it under a magnifying glass. As a result, I am making an effort to spray everything with Tamiya rattle cans, and may eventually use this as an excuse to get an air brush. The Testor's bottles come out when I need to touch something up, usually where the piece got cut off the sprue. The TS-9 BRG looks good with the naked eye, but the close-ups show all the little flaws.

I am having trouble wrapping my mind around just how small all of this is. When I thought I had lost the steering wheel, my first reaction was to turn to the parts bin ... which is all 1/24 and thus enormous. (The wheel resurfaced, fortunately). But it is very easy to lose stuff, so a very clean work space is essential, and you need to lean forward over your desk so microscopic bits can't fall in your lap.

In spite of the size, and having to peer at everything through the desk magnifier, it is all coming together rather well. Stay tuned for more!
No comments:
Post a Comment